The packaging has a double function: a practical and an aesthetic one.
On the one hand, it contains and protects the product and makes it easier to transport. On the other hand, she embellishes it and strengthens its visual identity with the brand.
Numerous companies that have specialized in printing and packaging offer a wide range of formats and different structures. However, there are also projects that require special sizes and materials and for which the standard formats offered are not sufficient.
The template of a box consists of a two-dimensional technical drawing. The box is assembled from this shape. The template consists of two elements:
- The shape for the die-cut: The path that is printed and based on which the cut is made.
- The path for the fold: It defines the folds for the box edges, which are indispensable for the assembly, and any other elements.
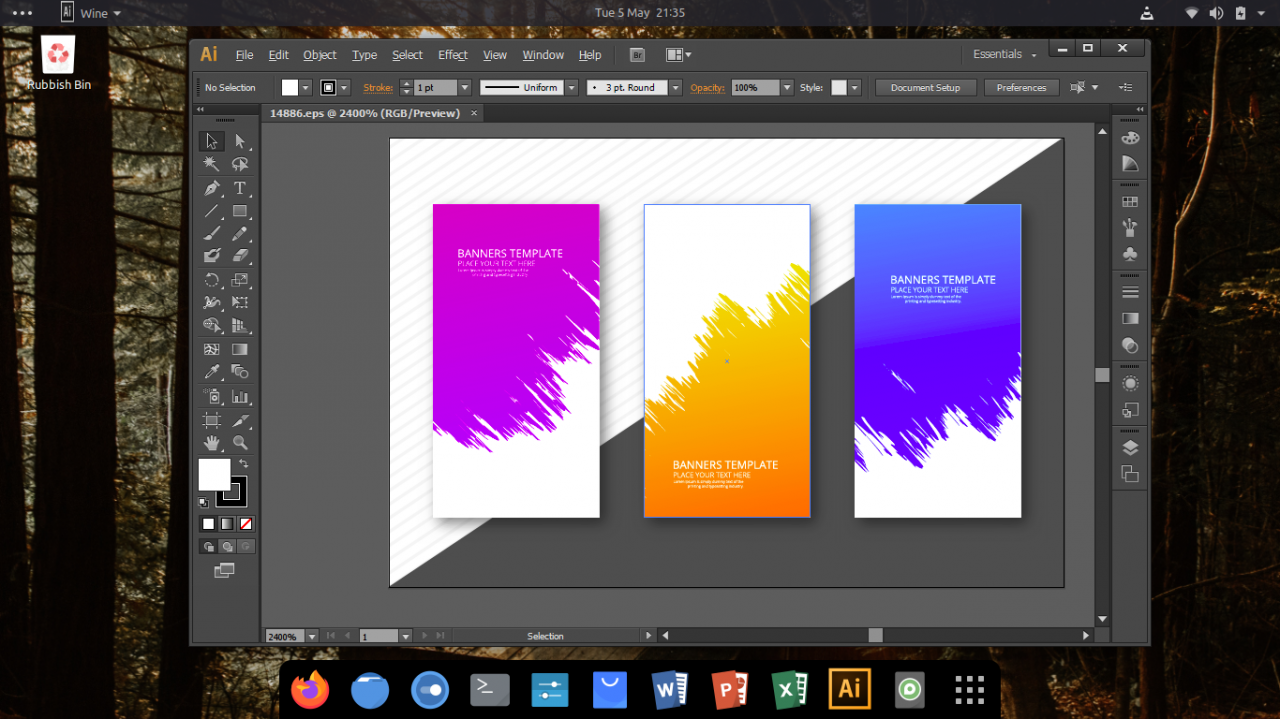
How do you design a correct and complete template that can be sent to a print service provider? Let’s look at the draft of a template for one of the most popular box types. We use Adobe Illustrator.

How to design a template for a standard box
The template that we are designing is the one Standard box, which is created by cutting and folding a single sheet. It is resealable by plugging the different components into each other and it is only glued at a single point. This glue dot is the only area to which a liquid adhesive is applied and which gives the box its stability.
How to create a new graphic with Illustrator
First, start the software Adobe Illustrator. When you create a new project, you must enter the dimensions of the drawing area. First, enter a fictitious value of 500 x 500 mm; We will change this as soon as the design of the box is finished. Make sure that the color space for the document you are working in is set to CMYK. It is important that every project that is to be printed at the end is created with the color profile cyan, magenta, yellow and black (CMYK).
1. How to layout the four sides of the box
The finished box will have a size of 80 x 80 x 120 mm. First, select the Rectangle element in the side menu. By clicking in the drawing area you can enter the dimensions of the first area: 80 x 120 mm. We want to design a classic box that consists of four sides that correspond to the four faces in the graphic template. All four sides are the same size, so you can create them at the same time and arrange them next to the other (don’t forget to select the Guidelines and Grid option under Preferences to activate).
2. How to put the lid and bottom on
After the side surfaces have been created, you need the top and bottom flaps of the box. Proceed by creating these two flaps each with a size of 80 x 80 mm. The bottom flap is arranged under the first side surface starting from the left. The lid flap, on the other hand, is positioned over the third surface from the left.
At the same time, design the dust flaps of the individual pages. The flaps on the side panels have a trapezoidal shape, while the top and bottom flaps have rounded corners (which makes it easy to open the box). Thanks to the plug connection of the tabs, the box can be assembled and completely closed.
The last step is to create the side flap for the point gluing of the box. It is attached next to the first surface from the left. This side flap is essential for the stability of the box structure. All flaps have a side that is the same length as the adjacent side of the box. The length of the other side is freely definable.
3. How to create the cutting path for the punching
Now that the structure is ready, you need to create the path for the punching and folding. Die-cutting is a method of cutting the material by following the path for the custom die shape of the box. The fold path indicates the area where pressure is exerted using special machines to shape the edges of the box, making it easier to assemble.
It is important that the individual paths are on different levels, which will come in handy when exporting the final file.
After you have created the layer for the punching, select all sides and tabs, duplicate the elements and open the Pathfinder window. Select the Unite item to create the path that will be used to trim the box.
4. How to create the path for the fold
To create the path for the fold, create a new layer and use the layer with the original elements (layer 1) for orientation. Create dashed lines wherever the sides and flaps meet, i.e. where the box will be folded.
5. We’re almost done: insert your graphics into the template
Only rarely are boxes made to measure without printing information on them. At least the logo and the information about the content of the packaging are given.
At this point, all you have to do is fill the template with colors, decorations, patterns and useful information. These elements depend heavily on the corporate design manual, the product type and the amount of information required.
From a technical point of view, it is very important that important information and especially the lettering are not positioned on the paths for punching or folding, as this would impair legibility. Otherwise, there are no limits to your imagination and creativity.

6. Size of the drawing area
Before you export the file, you have to adjust the size of the drawing area. In this way, the print service provider can calculate the size of the cut sheets and optimize production.
To do this, select the Drawing area instrument in the side menu and click on the path on the punching plane. As soon as the new drawing area has been created, you can delete the old one measuring 500 x 500 mm.
7. The template for your packaging is ready: just save and export for printing
The template is now ready. Now all you have to do is export the file. You have two options, both of which are suitable for sending files to a printer/packaging manufacturer.
In the first method, a PDF file is exported for each of the punching and folding levels, which only shows the exported level. In this way, you create two files, which you respectively name die-cut and fold.
The alternative method, however, consists in sending the file with the extension .ai directly to the printer. Remember to remove the layers and elements that are not relevant for the production and to save the file in an older version of the software.

